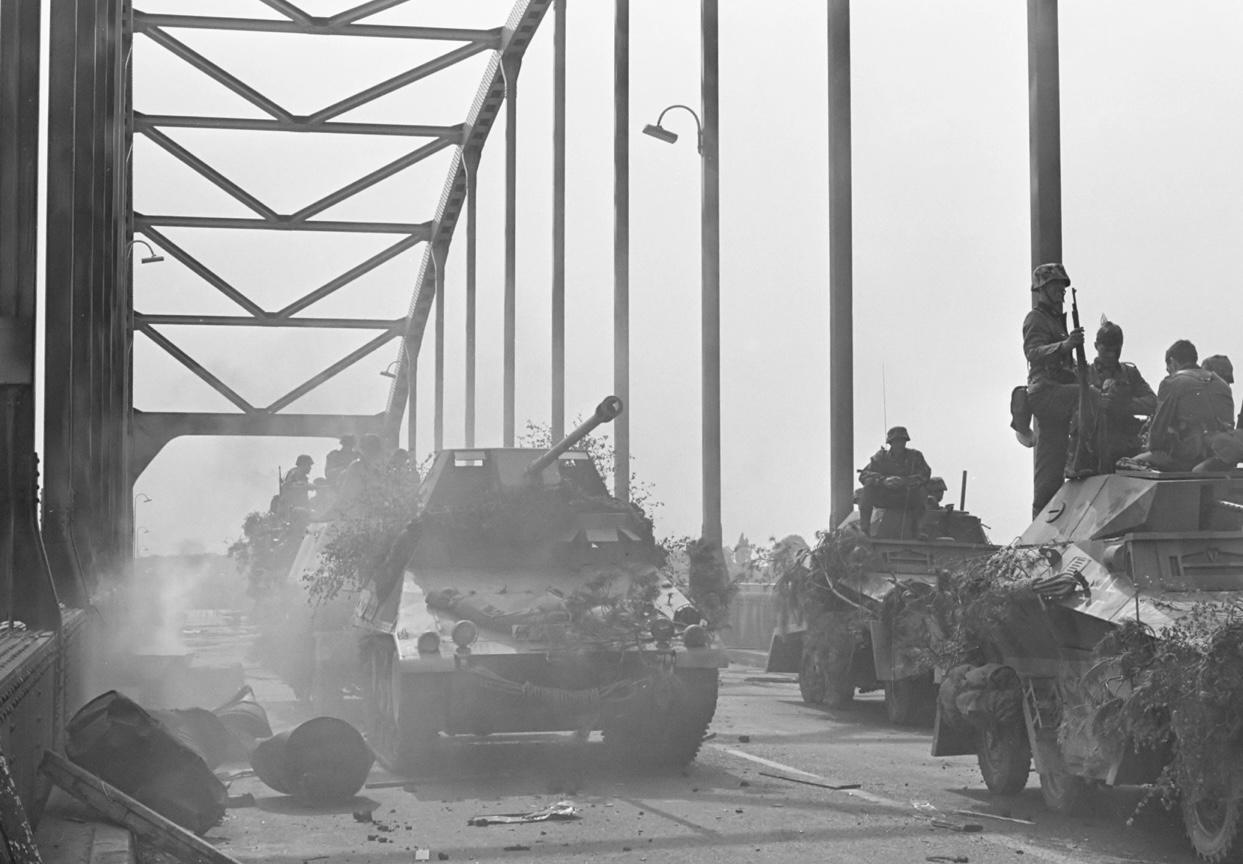
Arnhem bridge
On the afternoon of 17th September 1944, during Operation Market Garden, the 2nd Parachute Battalion parachuted approximately nine miles west of Arnhem. Reinforced by elements of the 1st Parachute Brigade, the battalion reached the northern end of the Arnhem road bridge by dusk.
This force, numbering around 750 men, included over 300 from the 2nd Parachute Battalion, C Company of the 3rd Parachute Battalion, more than 100 personnel from the Royal Engineers and Brigade Headquarters, 30 men from the Royal Army Service Corps, and five 6-pounder anti-tank guns with crews from the 1st Airlanding Anti-Tank Battery. They were further supported by about a dozen Glider Pilots, Major Freddie Gough and members of the Reconnaissance Corps, as well as troops from the REME, Provost Company, and RAOC. In contrast, German forces in the area eventually numbered over 1,000 troops, supported by armoured vehicles.
Initially, the lightly defended northern end of the bridge was captured with relative ease, as German guards were taken by surprise. However, a subsequent assault by A Company to secure the southern end was repulsed. Lieutenant Colonel John Frost, commanding the 2nd Parachute Battalion, established a defensive perimeter in the buildings overlooking the northern bridge exit.
Throughout the night, German attempts to retake the bridge were uncoordinated and easily repelled. On the morning of 18th September, a poorly executed attack by a reconnaissance unit from the 9th SS Hohenstaufen Division was decimated on the northern exit ramp, leaving wrecked vehicles that blocked the road.
From then on, German attacks intensified. Infantry and armoured assaults began from the industrial area east of the bridge and later from the broader road approaches to the north, led by Kampfgruppen Brinkman and Knaust. These were met with fierce resistance and driven back, as were sporadic attacks from the west.
That night, a concerted attempt by 3rd and 1st Parachute Battalions, advancing along the lower road, and 11th Parachute Battalion with the 2nd South Staffordshires, pushing along the high road by the river, aimed to relieve Frost’s force. They got within 900 yards of the bridge but suffered such severe casualties that they were forced to retreat to Oosterbeek. The defenders at the bridge were now completely cut off.
Between 19th and 20th September, German forces methodically shelled and destroyed houses to gain access to the British positions. The paratroopers fiercely resisted, often reoccupying burned-out buildings before the Germans could enter. Despite dwindling supplies, they continued fighting amid the rubble—sometimes with only knives when ammunition ran out. Accounts from captured German troops describe close-quarter battles of desperate intensity.
By the 20th, Frost had been wounded and took shelter with nearly 200 casualties in the basement of his headquarters. Despite the worsening situation, the defenders held their ground.
Originally, the 1st Airborne Division had been tasked with holding the Arnhem bridge and surrounding area for 48 hours until relieved by XXX Corps advancing up the “airborne corridor” secured by the U.S. airborne divisions. In reality, a much smaller force—just over 700 men—held the bridge for three days and four nights.
During the night of 20/21st September, the surviving defenders were ordered to break out, as German forces finally overran the last positions.
The stand at Arnhem Bridge has come to symbolise the bravery and sacrifice of the 1st Airborne Division during the larger battle for Arnhem and Oosterbeek. Although the plan had envisioned an entire division holding the bridge for two days, a single battalion group held out for over three days at a terrible cost: more than 90 men were killed or later died of wounds, with the rest taken prisoner.