
Battle of Beaurevoir
On 3 October 1918, British and Australian troops attacked the Beaurevoir Line in northern France, opening another battle in the Allied offensive that was steadily forcing the German Army back towards its own frontier. Fought over three days, the Battle of Beaurevoir formed part of the struggle to break the Hindenburg Line, the formidable defensive system on which Germany had depended to hold the Western Front. Although the Allies were advancing, the fighting remained bitter, and the men ordered forward still faced barbed wire, machine-guns and determined defenders.
Since the Battle of Amiens on 8 August, the Allies had maintained almost continuous pressure. Under General Sir Henry Rawlinson’s Fourth Army, Lieutenant General Sir John Monash’s Australian Corps had played a major role in the advance. British, Australian and American troops attacked the Hindenburg positions around the St Quentin Canal on 29 September, but the operation did not achieve the complete breakthrough originally intended. Further fighting was needed before the exhausted formations could move beyond the main defences and confront the remaining positions behind them.
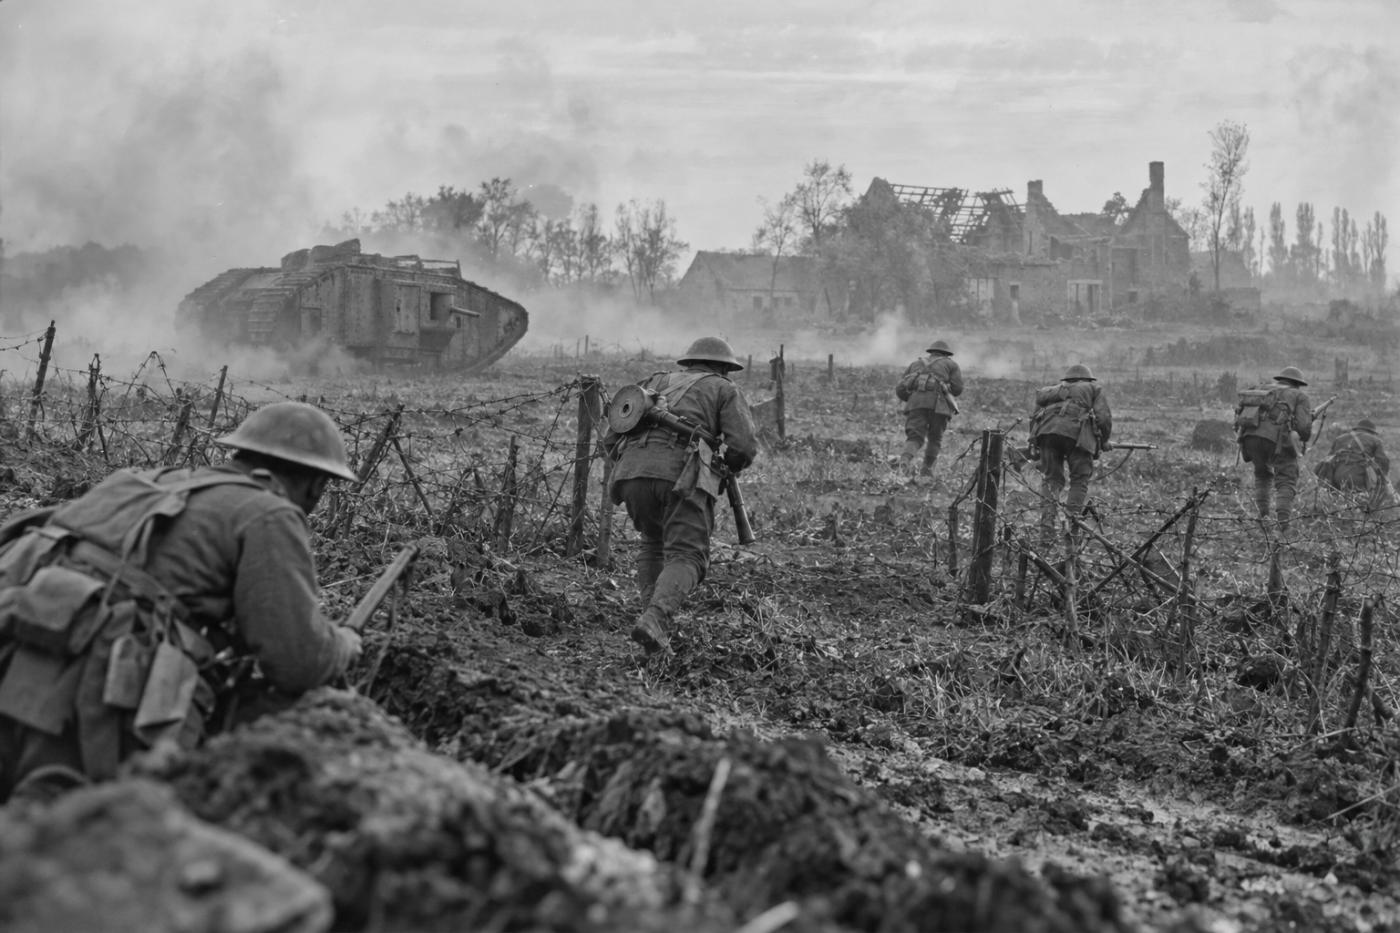
The Beaurevoir Line formed the final prepared defensive belt in this sector. Although much of its trench system remained unfinished, thick wire entanglements protected carefully positioned machine-gun posts and anti-tank gun emplacements. Its strength lay in the defenders’ ability to sweep the approaches with concentrated fire. Breaking through the wire would therefore be only the beginning: the attackers also had to secure the villages and higher ground beyond, while keeping contact with neighbouring formations to prevent German troops firing into their flanks.
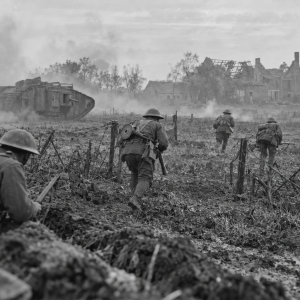
At 6.05 am on 3 October, the 2nd Australian Division advanced behind an artillery barrage, with tanks supporting its depleted infantry brigades. British troops attacked alongside them, including the 46th, or North Midland, Division. The Australians encountered heavy machine-gun fire and stubborn obstacles, and the tanks could not overcome every position. Progress depended upon small groups of infantry working forward with Lewis guns, rifles, grenades and bayonets. By late morning the 5th Brigade had secured its objectives, followed around noon by the 7th Brigade, but the advance towards Beaurevoir village was checked by exposed flanks.
Among those distinguished in the fighting was Lieutenant Joseph Maxwell of the 18th Battalion, whose courage on 3 October earned him the Victoria Cross. Already an experienced and decorated soldier, he embodied the determination of men who had endured years of campaigning. Yet even as the German defences weakened, many Australians believed the war would continue for some time. Success brought little relief to battalions whose numbers had been steadily reduced by casualties and whose survivors were approaching the limits of their endurance.
The battle continued on 4 October, when an Australian attempt to capture Beaurevoir village failed. To the south, British troops had taken Montbrehain but had been unable to hold it. The following morning, the Australian 6th Brigade attacked that village, with the 21st and 24th Battalions supported by the 2nd Pioneer Battalion. Fighting developed among buildings and defended posts, and German counter-attacks had to be beaten back before the position was secure. Approximately 400 prisoners were taken, but the victory cost 430 Australian casualties, a severe price for a limited objective.
Lieutenant George Ingram of the 24th Battalion received the Victoria Cross for his actions at Montbrehain. When machine-gun fire held up the advance, he led an assault on a strongpoint under covering fire from a Lewis gun. Throughout the battle he continued attacking enemy positions and taking prisoners, helping his men press forward through resistance that threatened to stop them. His award provided another example of the initiative and personal courage required to turn an artillery-supported attack into a successful infantry advance.
Montbrehain became the last battle fought by Australian infantry during the First World War. Their withdrawal gave exhausted survivors a respite, although Australian artillery continued supporting the advance. The fighting around Beaurevoir had helped dismantle the final belt of the Hindenburg defences and opened the way for further Allied gains. The Armistice would come on 11 November, but for the men fighting in early October, peace was still uncertain. Their achievement rested upon repeated attacks by depleted units, and upon soldiers who continued forward despite having already given almost everything they could.