Falklands war ships lost
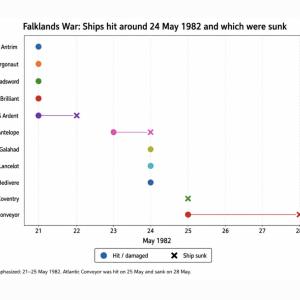
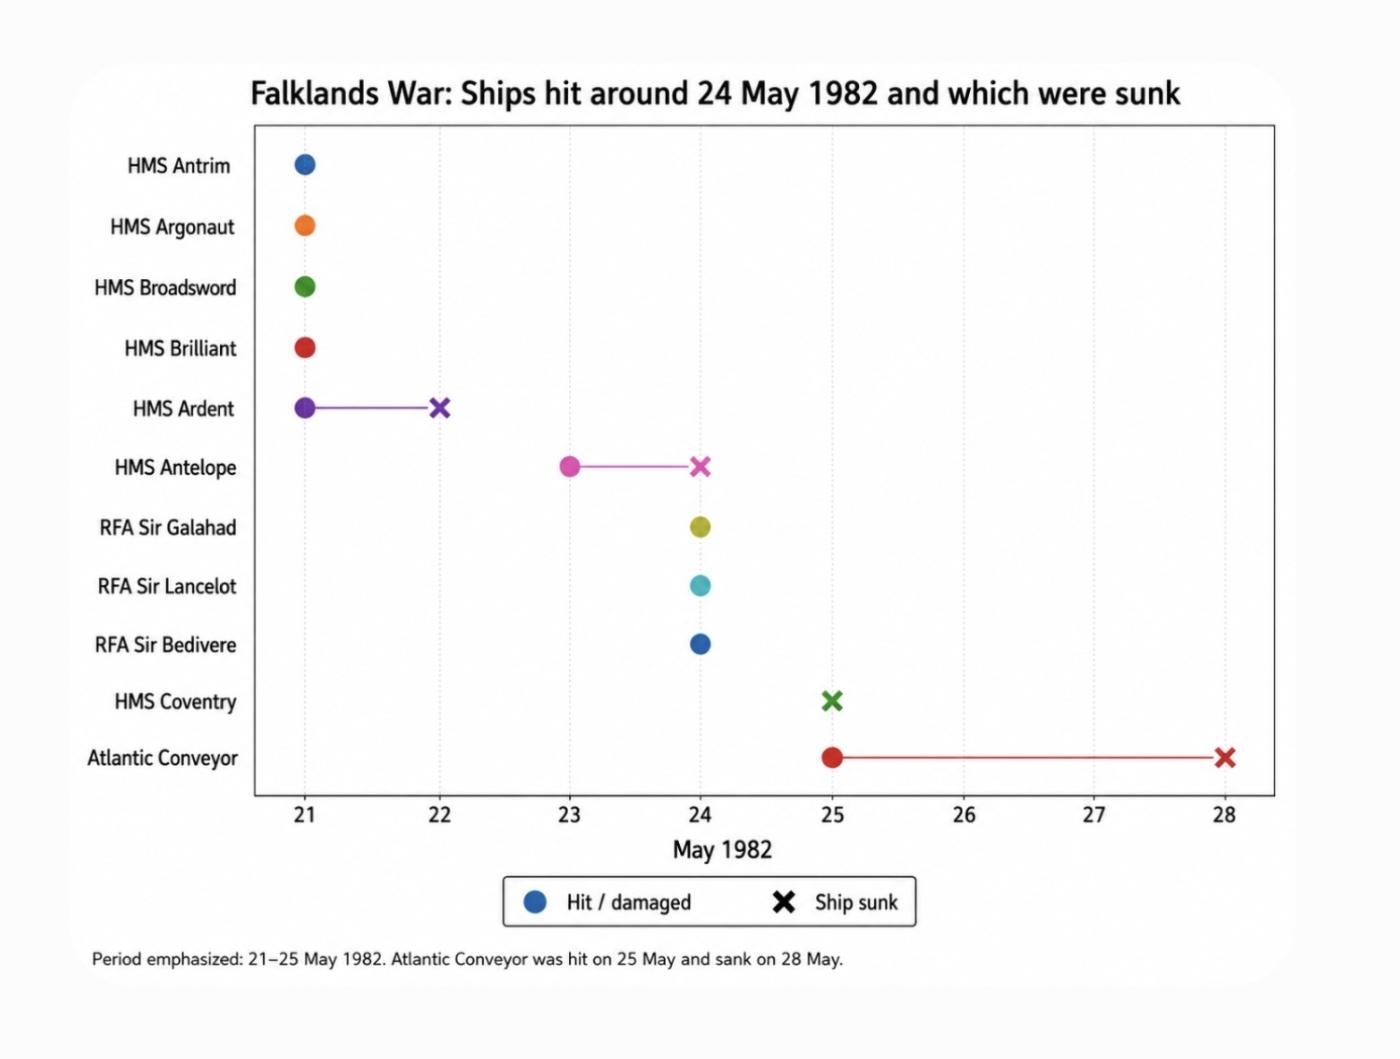
The graph shows how the ships hit around 24 May 1982 were spread across several dangerous days during the Falklands War. Most of the damage happened during the British landings at San Carlos, when Argentine aircraft repeatedly attacked the ships protecting and supplying the troops ashore.
The first main cluster on the graph is 21 May. On that day HMS Antrim, HMS Argonaut, HMS Broadsword, HMS Brilliant and HMS Ardent were all hit or damaged. Antrim and Argonaut were both struck by bombs that failed to explode, which saved them from possible destruction but still left them damaged and in danger. Broadsword and Brilliant suffered lighter damage, mainly from aircraft fire, but their position on the graph shows that they were part of the same intense opening day of attacks.
HMS Ardent stands out on the graph because her mark begins on 21 May and continues to a sinking mark on 22 May. She was hit heavily during repeated air attacks and suffered fires and serious damage. The crew eventually had to abandon her, and she sank the following day. The graph makes this clear by showing her as hit on 21 May but sunk on 22 May.
The next important ship on the graph is HMS Antelope. She was hit on 23 May, and the line carries across to 24 May, when she sank. Antelope had been struck by unexploded bombs in San Carlos Water. At first she remained afloat, but during bomb-disposal work one of the bombs exploded. The explosion caused fires and further blasts, and the ship was destroyed. The graph shows this clearly: she was hit one day and lost the next.
The central date on the graph is 24 May. This was the day HMS Antelope sank, and it was also the day three Royal Fleet Auxiliary landing ships were hit or damaged: RFA Sir Galahad, RFA Sir Lancelot and RFA Sir Bedivere. These ships were vital because they carried troops, vehicles, equipment and supplies. Sir Galahad and Sir Lancelot were both hit by unexploded bombs, while Sir Bedivere was damaged more lightly. None of the three sank on that day, but the damage reduced their usefulness at a critical moment.
The graph then moves to 25 May, another severe day for the British force. HMS Coventry is shown as sunk on that date. She was hit by bombs while operating with HMS Broadsword away from San Carlos, trying to draw Argentine aircraft away from the landing area. Coventry was badly damaged, capsized and sank. Unlike Ardent and Antelope, her hit and sinking happened on the same day, so the graph marks her loss at 25 May.
Atlantic Conveyor is also shown on 25 May, but her line continues to 28 May. She was hit by an Exocet missile and badly burned. Although she did not sink immediately, she was beyond saving and later went down while under tow. Her loss was especially serious because she carried helicopters and supplies needed for the land campaign. The graph shows this by marking the hit on 25 May and the sinking later on 28 May.
Overall, the graph shows that the ships were not all lost at once. Some were hit and survived, some were hit and sank later, and some were hit and sunk on the same day. HMS Ardent was hit on 21 May and sank on 22 May. HMS Antelope was hit on 23 May and sank on 24 May. HMS Coventry was hit and sunk on 25 May. Atlantic Conveyor was hit on 25 May and sank on 28 May.
The graph also shows how dangerous the period around 24 May was. The days from 21 to 25 May formed a continuous run of attacks, with ships damaged almost every day. By 24 May, the British had troops ashore, but the ships supporting them were still exposed to air attack. Many survived only because bombs failed to explode. Those unexploded bombs still caused fear and disruption, and in the case of HMS Antelope they later led to the ship’s destruction.
In simple terms, the graph tells the story of a battered task force. The British ships at San Carlos were hit hard, but most of them kept going. Some, like Antrim, Argonaut, Sir Galahad, Sir Lancelot and Sir Bedivere, survived despite damage. Others, like Ardent, Antelope, Coventry and Atlantic Conveyor, were lost. The pattern shown on the graph helps explain why this short period became one of the most dangerous and costly phases of the Falklands War at sea.